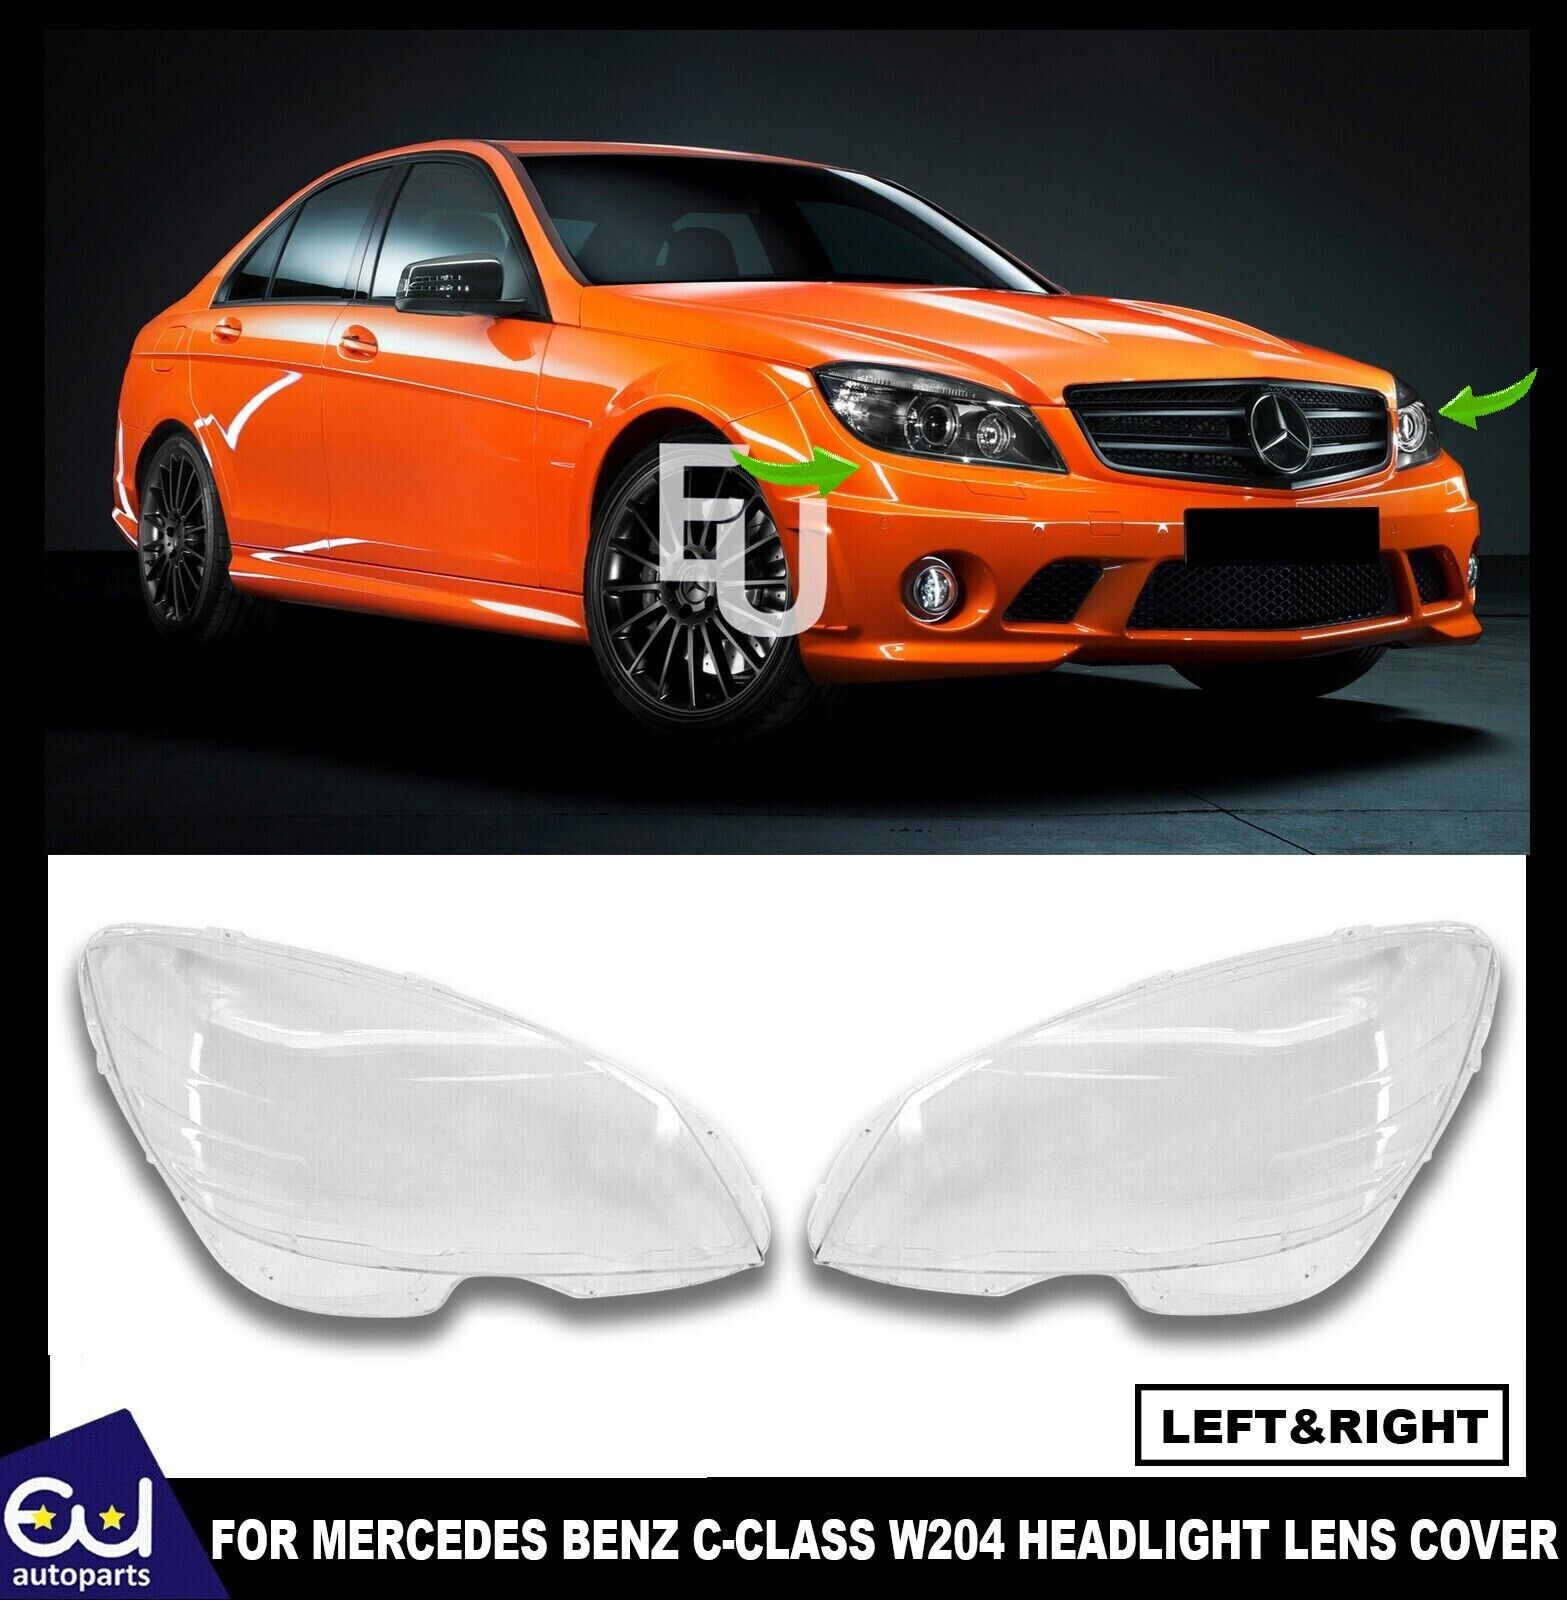
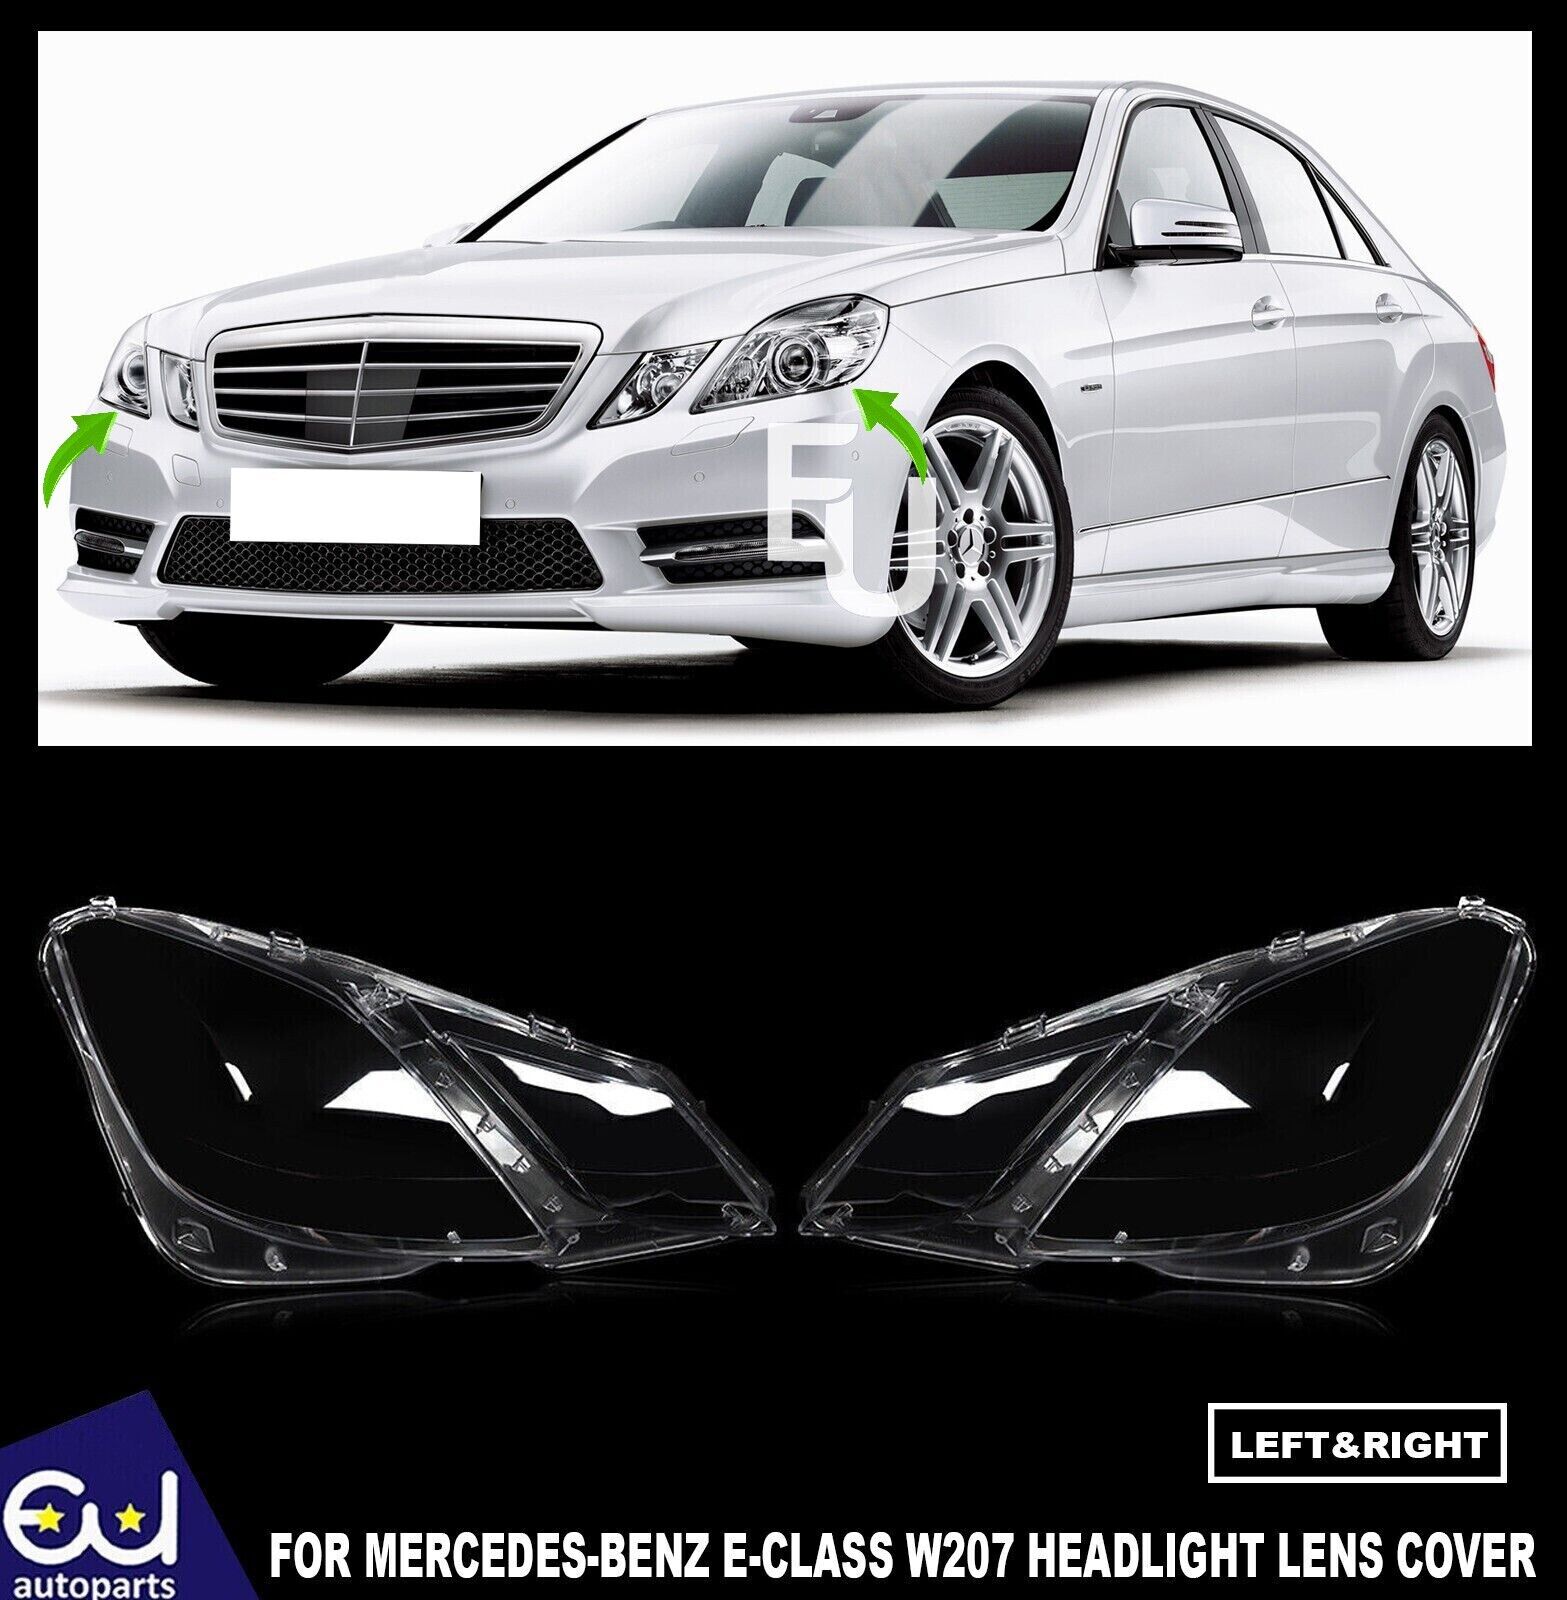
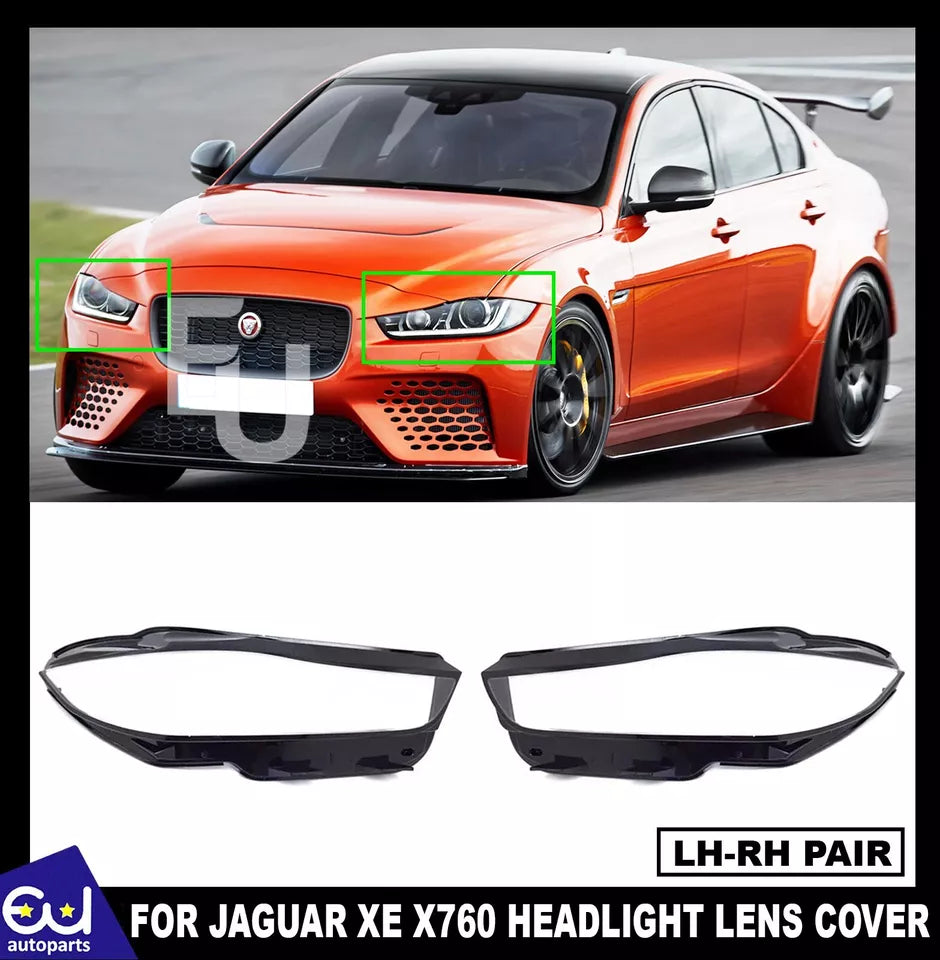
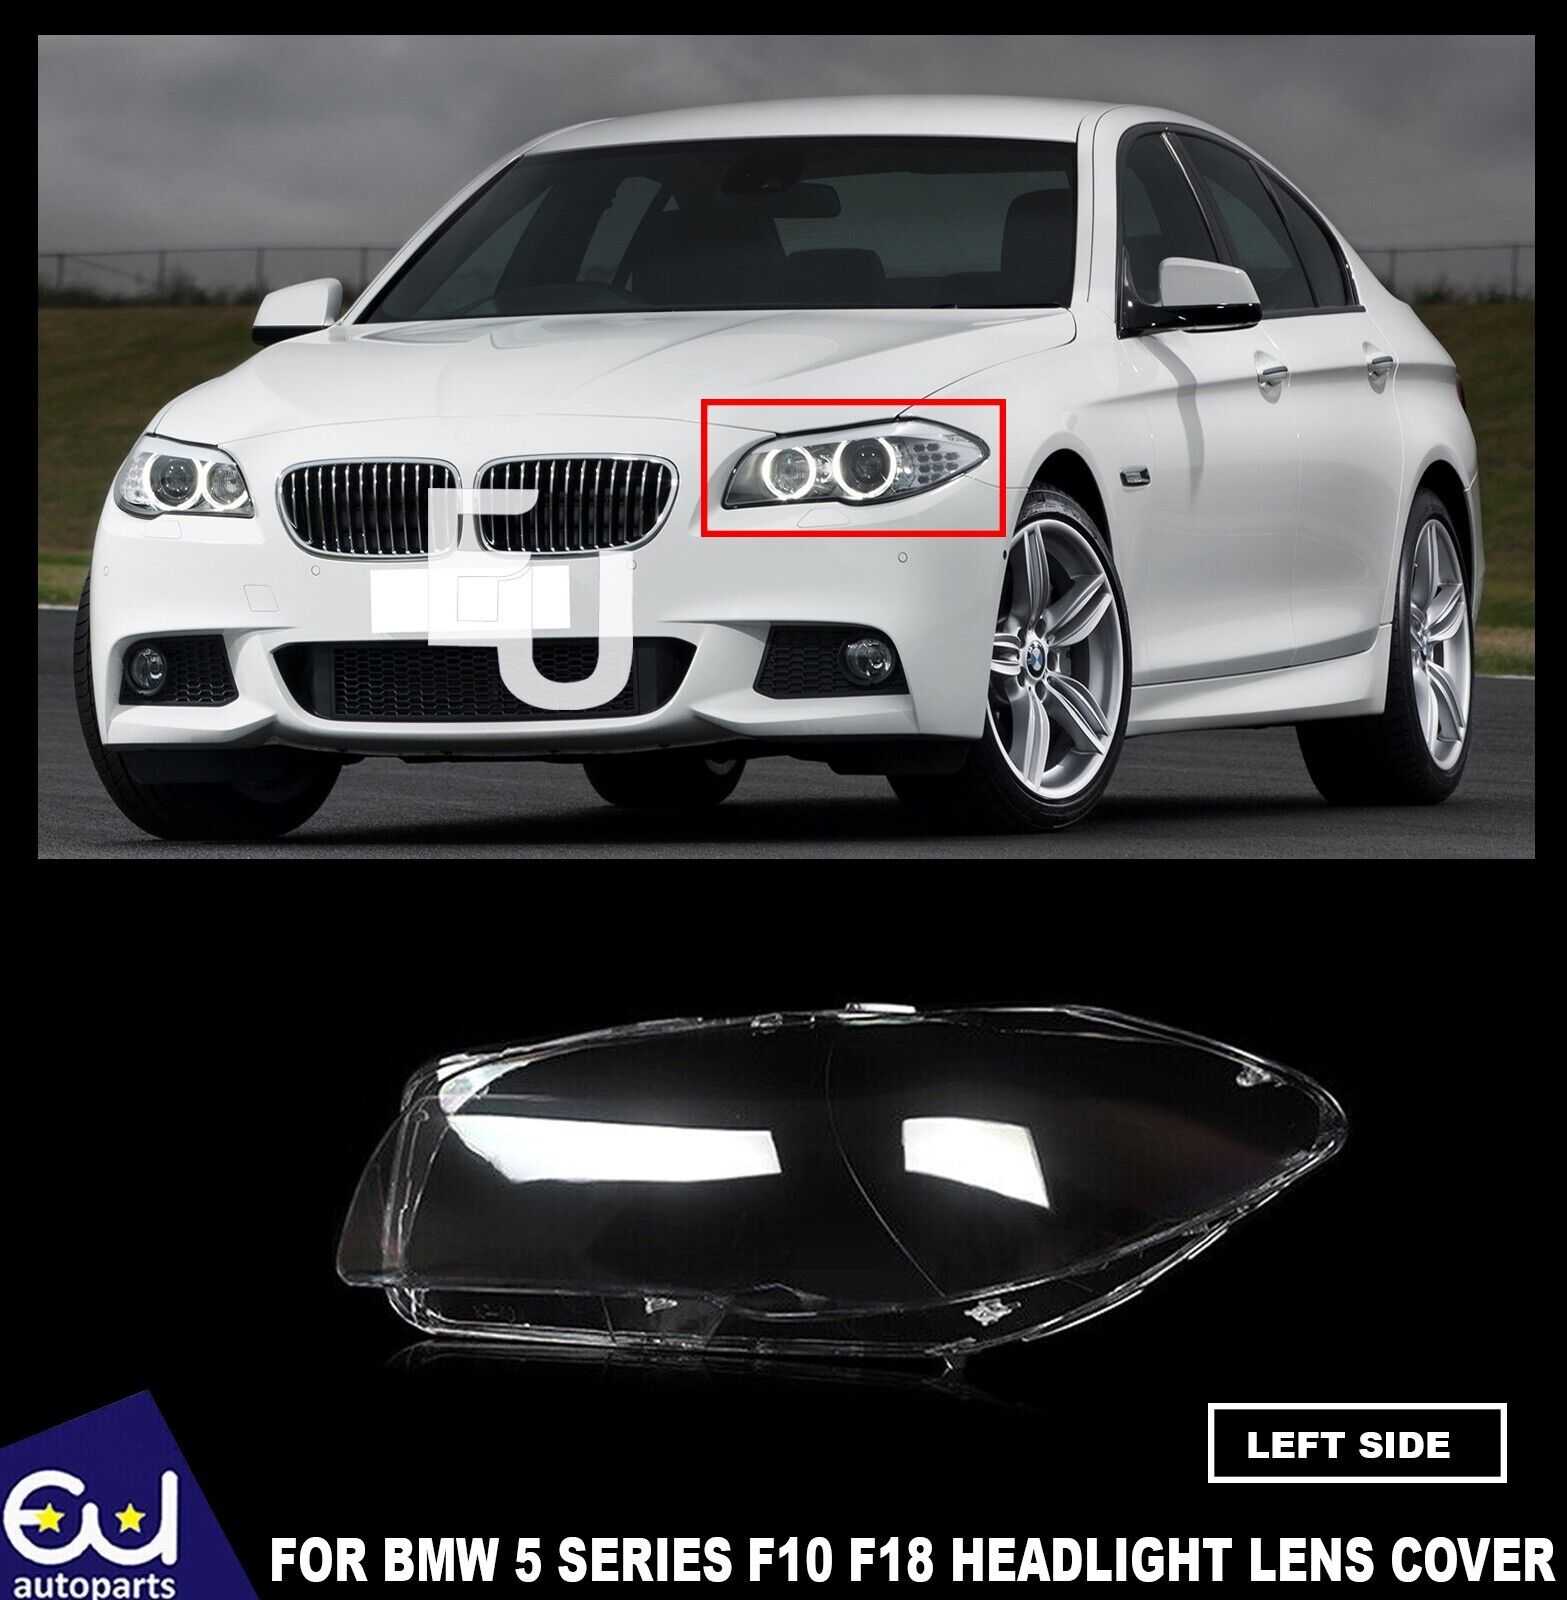
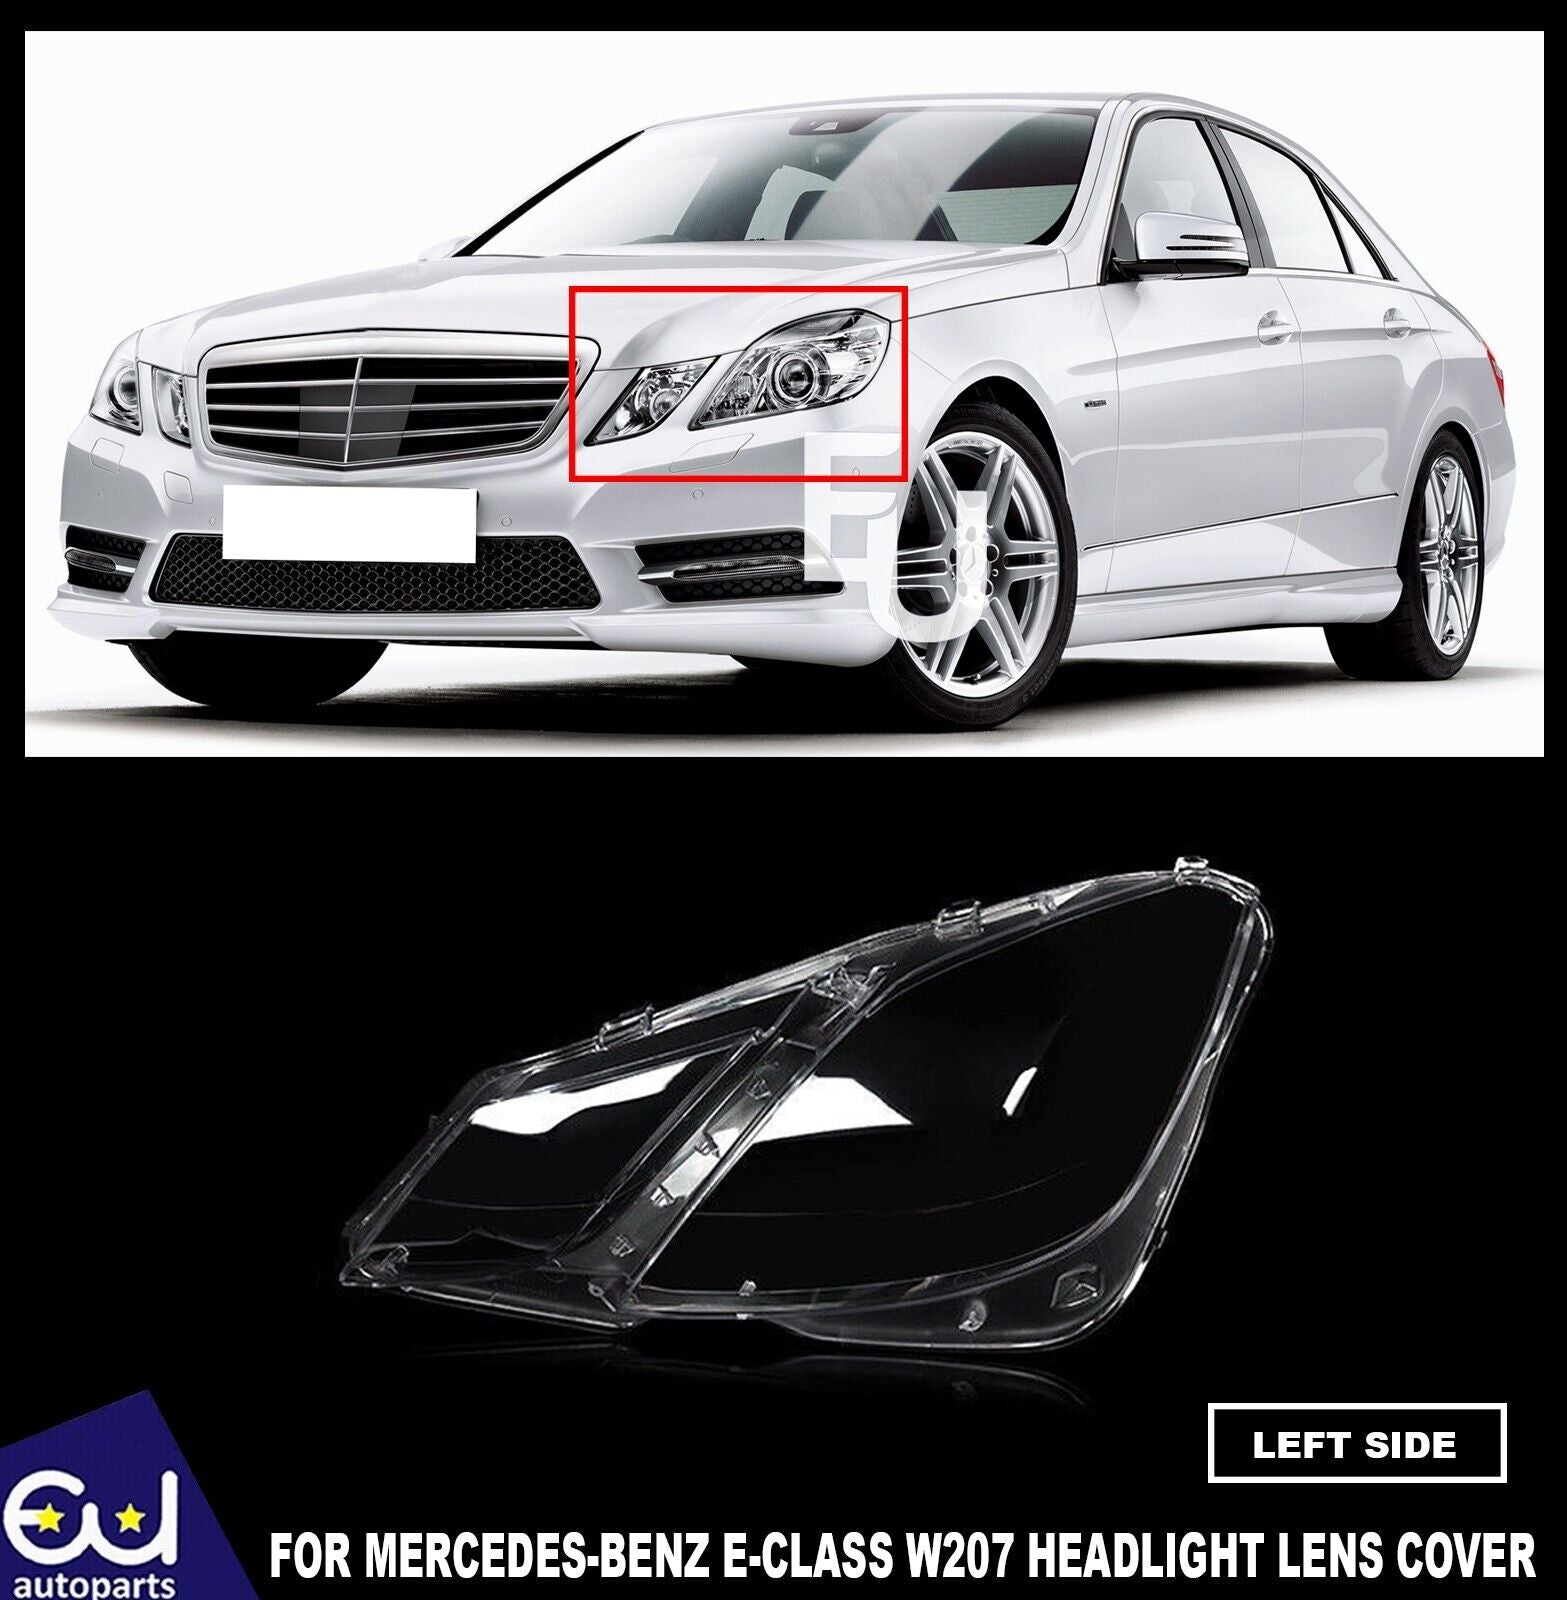
FOR MERCEDES BENZ GLC X253/C253 2015-19 HEADLIGHT GLASS LENS COVER LEFT NEW
Adding product to
your cart
- Fitment : Mercedes GLC Class W253 C253 X253 2015-2019
- Description :Â Below
- Item Type: Mercedes X253 Headlight Lens
- Color: Transparent
- Fitment Type: Direct Replacement
- Package List:Â A Left Headlight Cover (Left)
- Material: Arcylonitrile Butadine Styrene(ABS)
- Condition: 100% Brand New
- Installation :Â Below
- 1. Heating the headlight and prying the old lense off or cutting it off.
2.Once the lense is removed, clean out the casing from any left over glue,
3. Use a suitable sealant/adhesive of your choice to fill the headlight channel
4. Transfer over all plastic trim pieces that attached to the old lense if it has any
5. Press the lense onto the casing and make sure the are together as close as possible with no gaps
6. Use clamps to hold the casing and lens together until drying time is complete (usually overnight)
7. Enjoy your repaired headlight which you have successfully repaired at a fraction of the cost.
- Note :Â Below
- Professional installation is highly recommended. Instruction is not included.
- Any damaged products due to non-professional or user error may not be returned for refund.
- Please confirm your vehicle matches the parts compatibility chart.
- We provide clear pictures, measurements where possible. Please check as much as possible to make sure the item is the one that you need.
- Please allow 0.5-1 inch difference due to manual measurement. (1inch=2.54cm)


